When implementing technology in schools, something that we often do is use an immense amount of resources to achieve certain capabilities or goals. But this sort of creates this unfortunate situation where sometimes only a tiny fraction of the world can actually benefit from a new high-end technology.
What gets me really excited about implementing technology in schools on a tight budget is when I see simple opportunities to drastically change this tendency and make technology accessible to a much wider percentage of the population.
Interactive boards
I’ve never been a huge fan of Smartboards for several reasons. One of them is that I see Smartboards as essentially a computer projected onto a touch screen, (you can touch the screen to move forward a presentation, make annotations, highlight text and make annotations). Of course I would love my white boards and projector screens to have these features, but not at this outrageous cost that can go from $2500 to 10000 – OUCH! And with the current state of the world economy, such an investment is ridiculous and cost prohibitive for many schools.
Despite all, who wouldn’t like to be able to save what you write on your whiteboard and then share it with your students? Or just point at a spot on the screen and zip to the slide you want? Or access the Internet and annotate on websites without having to move from the front of the room? I’d still like to have these capabilities on my board although not at the cost of a few thousand dollars.
Philosophy statement: All for inexpensive alternatives
I am all for inexpensive open source alternatives and I always advocate for freeware solutions as much as possible. What if I told you that you could have all of the functionality above for about $40 (assuming you already have a projector and a computer) by using the technology inside a Nintendo Wii’s Wiimote? If you don’t know about this, keep reading!!!!!
The original idea behind this project comes from Johnny Chung Lee, a Carnegie Mellon graduate student who has found several interesting applications for the Wiimote.
The basic idea behind this is as simple as brilliant:
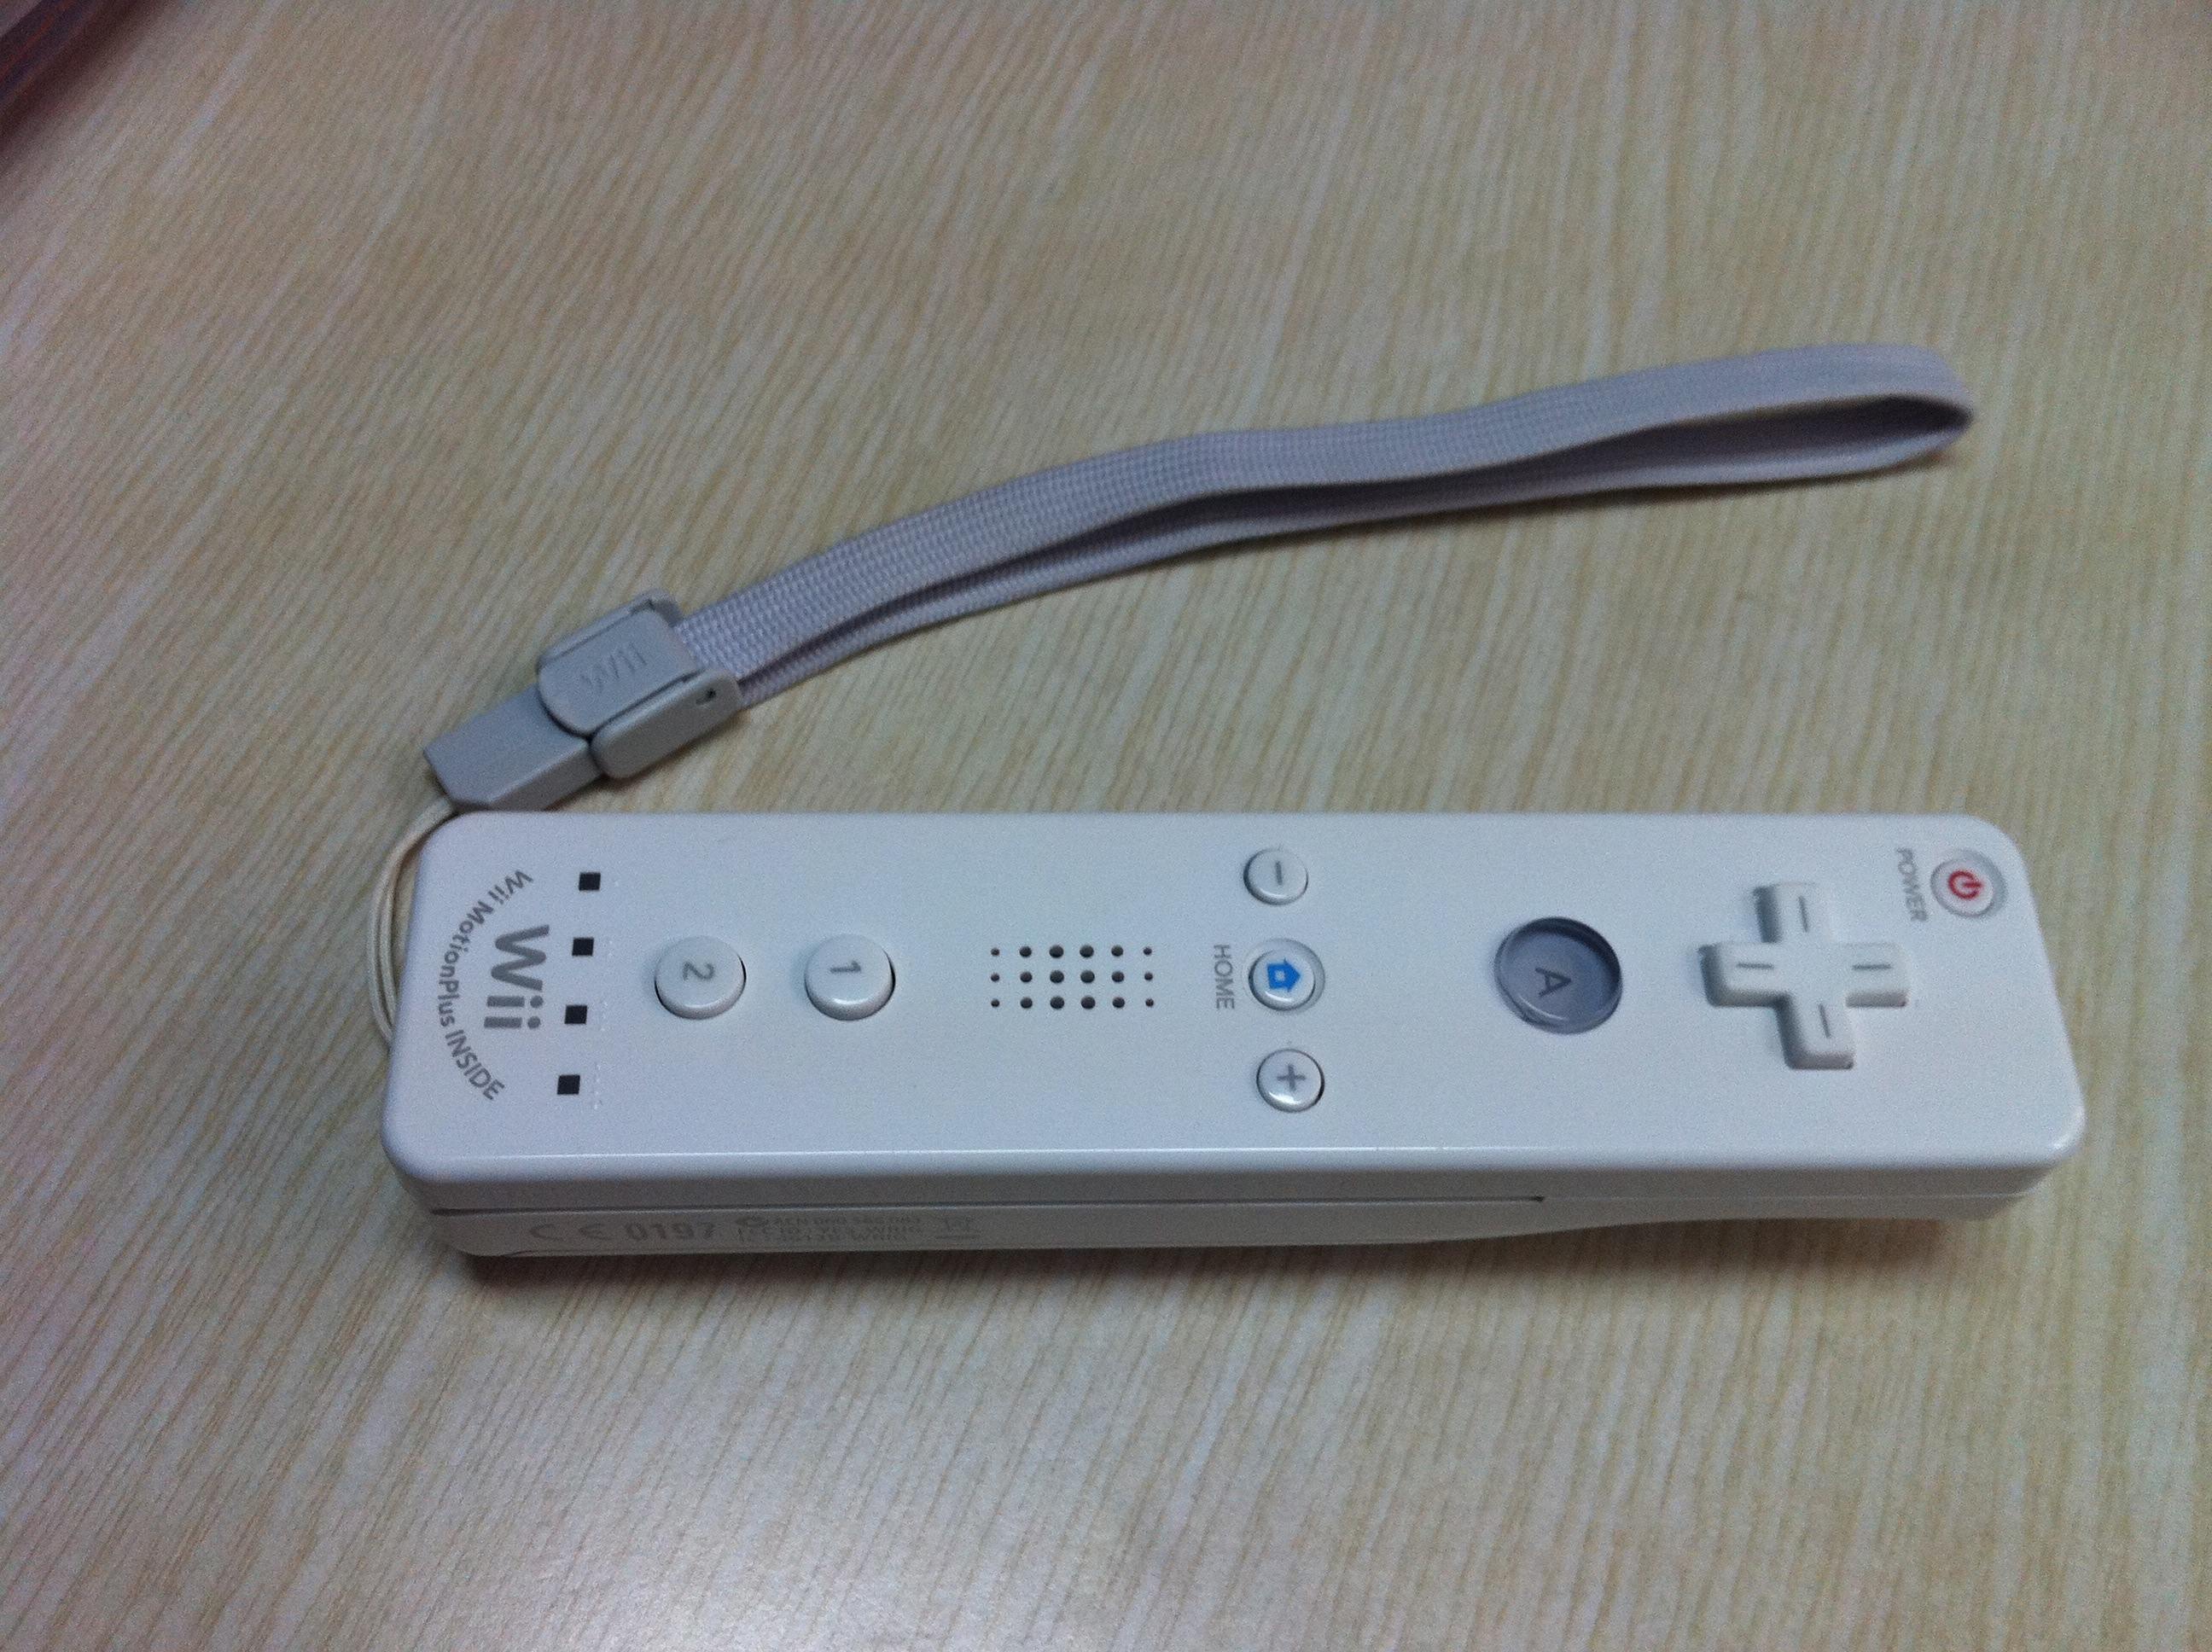 The Wii Remote (aka Wiimote) is the primary controller for the popular Nintendo’s Wii console. Aside of its motion sensing capability, which allows users to interact with and manipulate items on screen via gesture recognition, it contains a pretty high-end additional piece of hardware, an infrared camera. This tiny infrared camera, allows the interaction with the Wii sensor bar in the console. The infrared camera reads the location of the infrared lights within the sensor bar, and that is how the wii console can track the Wiimote position.
Johnny Lee figured out that he could do pretty much the same thing but, instead of moving the infrared camera build in the remote control, he would move the infrared light, keeping the wiimote static.
 The bottom line is that since the Wiimote infrared camera can track sources of infrared (IR) light, it can also track pens that have an IR led in the tip. Thus, by pointing a wiimote connected to a computer via Bluetooth at a projection screen or LCD display, you can create a very low-cost interactive whiteboard.
WARNING: It’s not rocket science
Putting all this to work is actually pretty simple assuming that you have some basic technical background. The graphic below shows how simple the principle is:

Note: I created this simple graph with Google SketchUp by drawing directly on my projector screen with an IR pen…cool!
This is everything you need to create an 50 USD interactive whiteboard in your class…and it is portable!!!!:
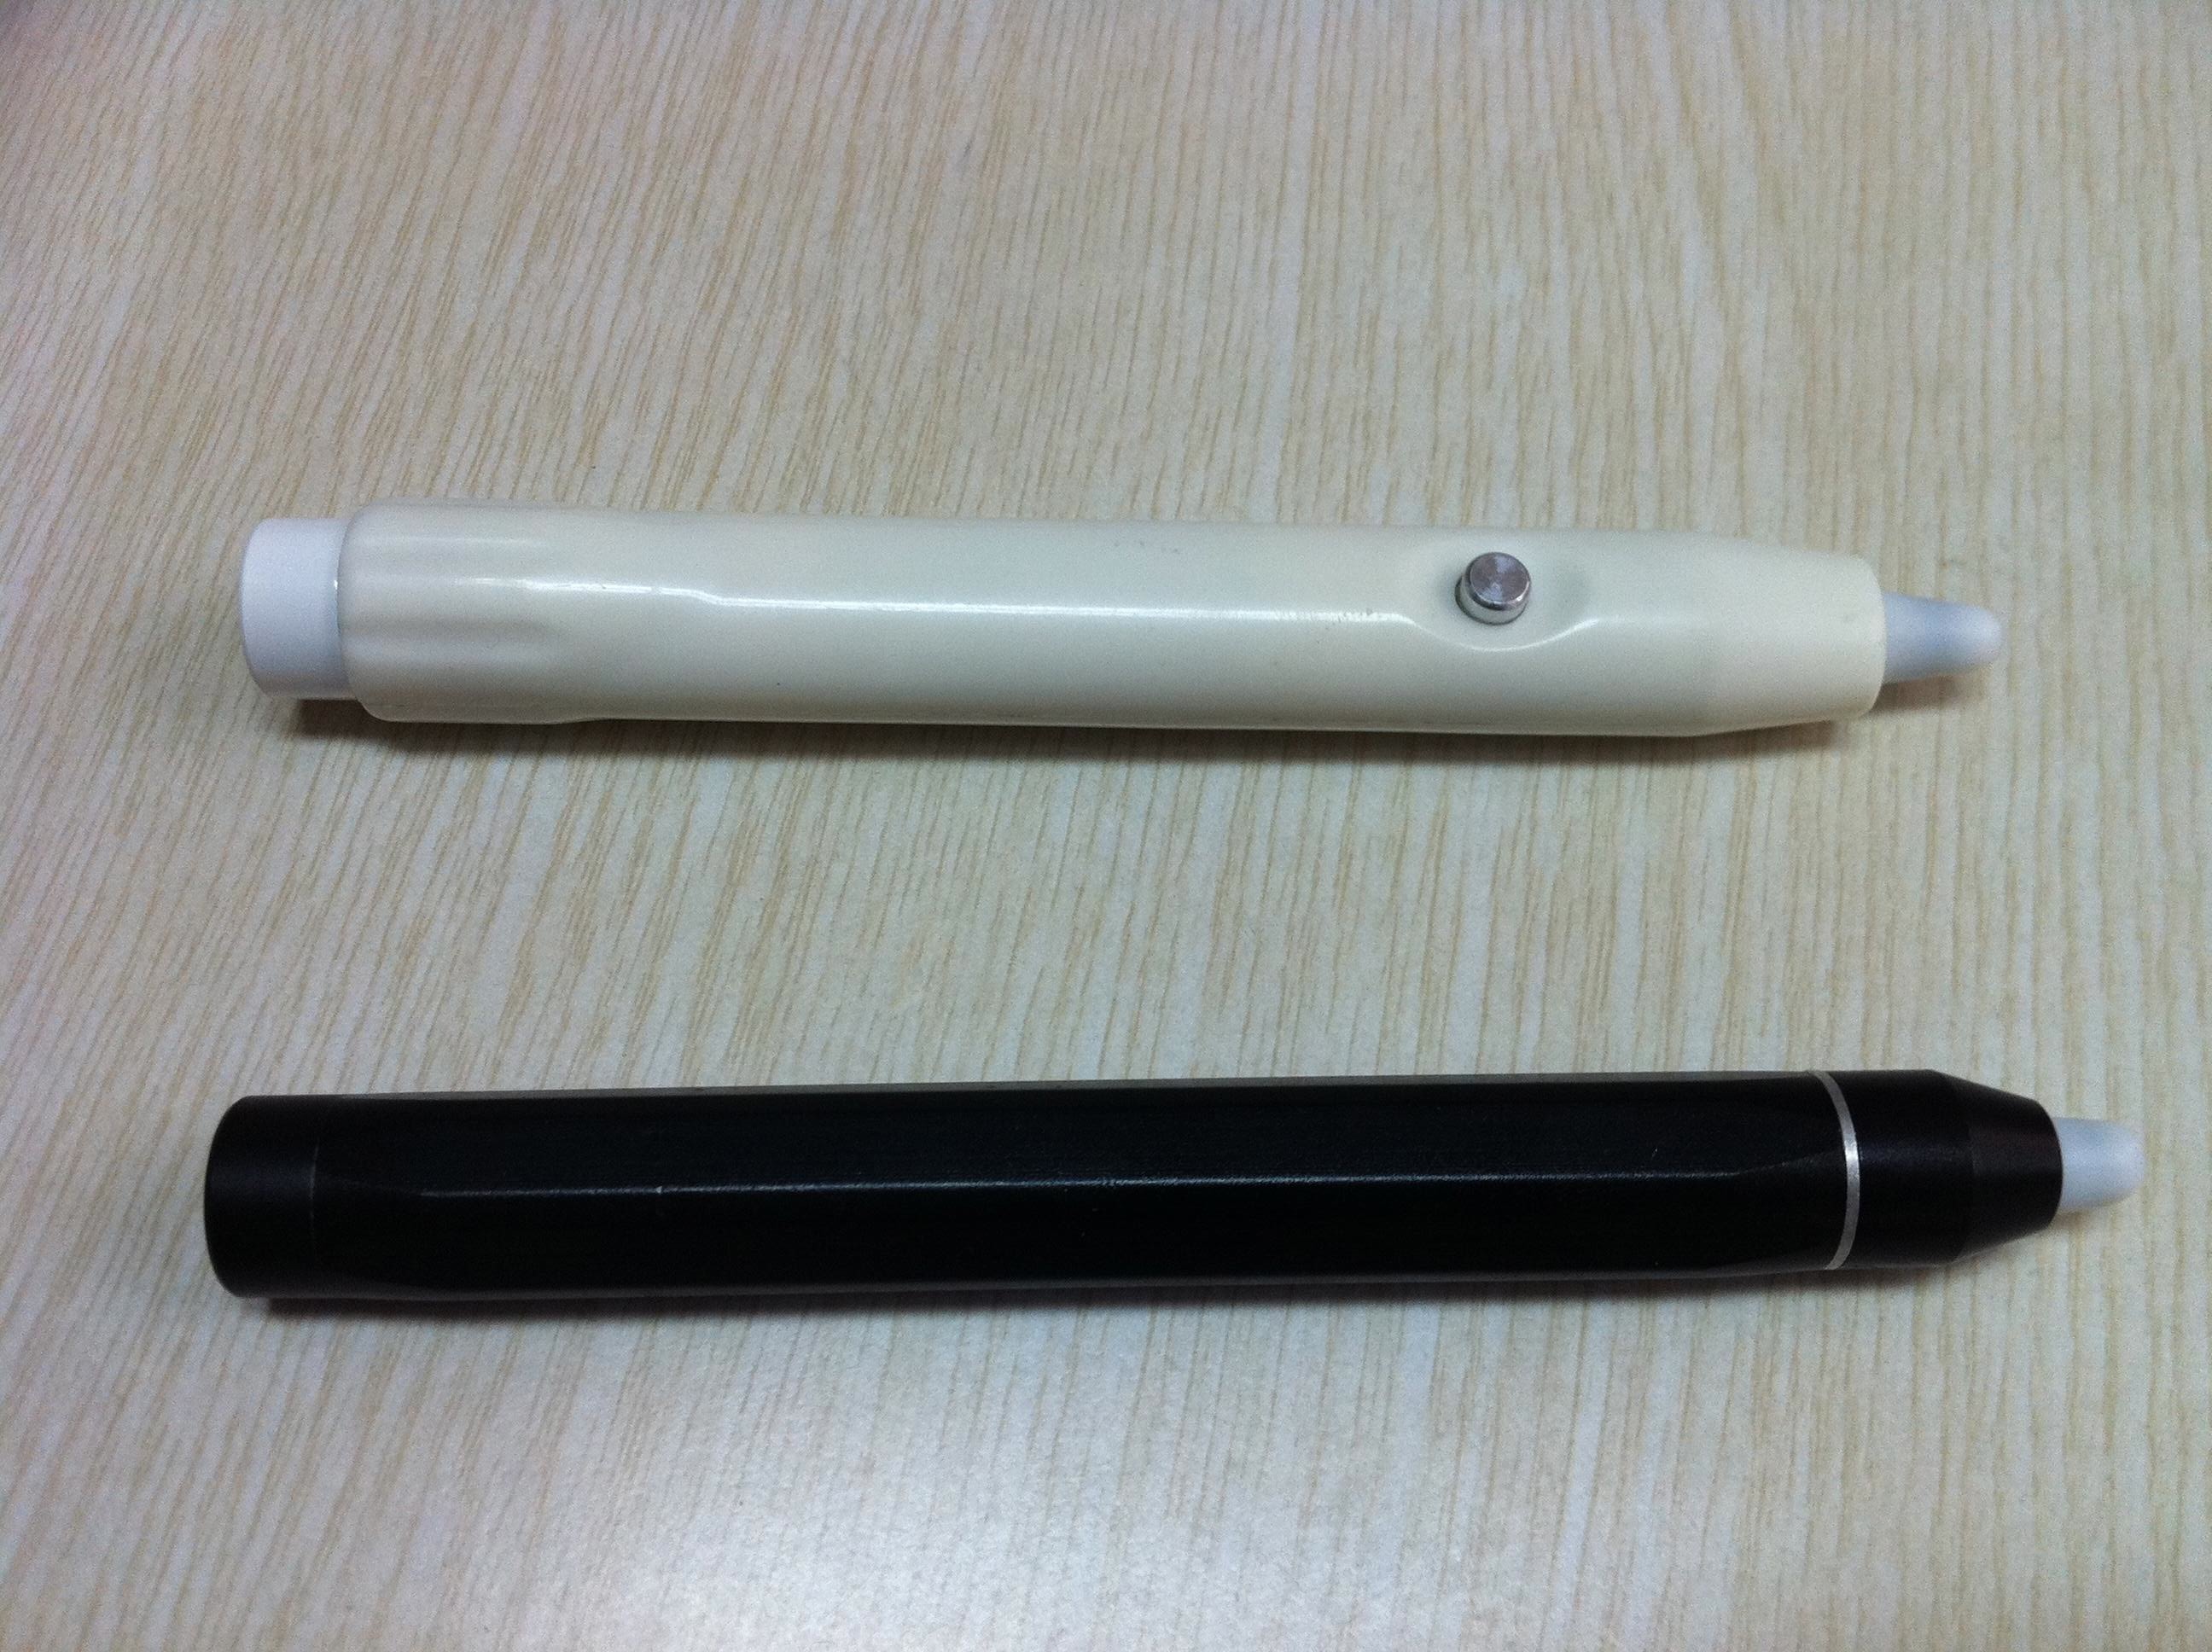
- Infra red light pen: Some people have been making their own infra red pens, however, not having access to soldering iron and other equipment, I decided that I would go for a commercial option. I got mine online and shipped to Beijing from Tianjin for about 30 RMB (less that 5 USD)
- Standard Nintendo Wii Remote: I got mine for 290 RMB in Beijing. Be careful with fake Nintendo wiimotes, although they do the job, you won’t get the same tracking utilization. I learned this the hard way.
- Computer with Bluetooth capabilities(If your computer doesn’t have integrated Bluetooth, you can purchase an inexpensive Bluetooth dongle to provide the same capabilities.). I am using my MacBook pro built in Bluetooth and it works sweet.
- Data projector: I assume that we all have access to one of these 🙂
- Projector Screen: Obviously you need a surface to project your data projector output. But you can actually run your lessons on the floor, on desktops and on walls…yeah boys…you can write on your desks!!!
- Smoothboard Software: To track the wiimote’s position. This is a development of the original software written by Johnny Lee, which gives the system additional annotation features such as pen, highlighters, drawing tools, backgrounds, etc. In my experience, this interactive whiteboard software created by BoonJin is right now the best free application for this alternative interactive board. BoonJin has recently launched the Mac version of the Smoothboard software. This software is open source and free of charge, however, there are broad ranges of products that allow you to outfit most rooms with a Wiimote Whiteboard.
I have piloted the system at the library/media center by mounting the Wiimote so that it can see the projector screen and used an infrared light attached to a pen pointing on the projector screen. I have tried with several applications and its works great with some of the major applications that teachers and students are using at BISS such as PowerPoint, Google Earth, Google SketchUp and iMovie.
Smoothboard presentation at BISS, January 2012 (introduction and iMovie demo)
Smoothboard presentation at BISS, January 2012 (annotations on websites and Google SketchUp)
After presenting the system yesterday afternoon during our elementary faculty meeting, I got all the teachers excited about installing it in their classrooms. Paige, one of our Grade 5 teachers came early this morning with a wiimote “stolen” from her daughter, and after some trial and error, we got it working and ready to go in her classroom!
Next week, I will present it during the Secondary School faculty meeting…Let’s see how it goes!
How deep the rabbit hole goes?
It seems to be that if you create an IR LED array around the Wiimote and wrap your finger tips with some reflective tape, your finger tips will reflect enough infrared light to be captured by the wiimote an you can actually interact with your screen by waving your hands in the air. I haven’t tried this yet, but linking our digital devices and our interactions with the physical world, opens up possibilities only seen in Sci-Fi movies (Remember Minority Report?)
Information has traditionally been stored on paper or in the past 50 years, digitally displayed through a screen. Being able to interact with information from the digital world by using natural hand gestures is like blending both worlds…Bringing intangible assets to our tangible world.
 “You take the blue pill – the story ends, you wake up in your bed and believe whatever you want to believe. You take the red pill – you stay in Wonderland and I show you how deep the rabbit-hole goes.” –Morpheus
Where can I buy one of those pens?
Pingback:Low-Cost Multi-point Interactive Whiteboards Using the Wiimote | DecisãoClínica.com